Phone astrophotography doesn’t require a telescope. You need a dark enough sky, a way to hold the camera still, and about ten minutes of patience while the exposure runs. Most of that gear is already in your pocket. We shot the photo further down this page on a phone, night mode, zero editing — it’s not a magazine cover, but it’s a real record of what the sky actually looked like that night, and that’s the point.
This isn’t a full astrophotography course — sites like PhotoPills and AstroBackyard already cover that ground better than we could. This is the practical version: what’s actually worth doing with a phone on a desert trip, when a camera and tripod earn their pack weight, and where the two overlap with the dark sky spots we’ve already mapped out.
Phone Astrophotography: What Your Phone Can Actually Do
Modern phone night modes are better at this than most people give them credit for. The camera app on a recent iPhone or Android flagship will detect low light and offer an extended exposure automatically — but the automatic setting is tuned for a dimly lit room, not a Bortle 2 sky, so it caps out well short of what the sensor can actually do. Switch to manual or Pro mode if your phone has it. That’s where the real capability shows up.
Push the exposure to 10–15 seconds if the phone allows it. Set ISO in the 1600–3200 range — higher brings in more light but also more grain, so it’s a trade worth testing on-site rather than guessing beforehand. Focus manually and set it to infinity; autofocus will hunt for something in a dark frame and usually fail. None of this works handheld. Prop the phone against a rock, a cooler lid, the hood of the rig — anything that holds it still for the length of the exposure. A full tripod is nice, but a beanbag or a rolled-up jacket wedged in the right spot does the same job for a fraction of the cost.
Phone Settings, Quick Reference
Use the self-timer instead of tapping the shutter — even a stable phone will blur slightly from the tap itself. A two or three second delay is enough. If your phone supports RAW capture, turn it on. It won’t change what you see on the screen that night, but it gives you real room to pull detail out of the shadows later if you ever want to process the shot.
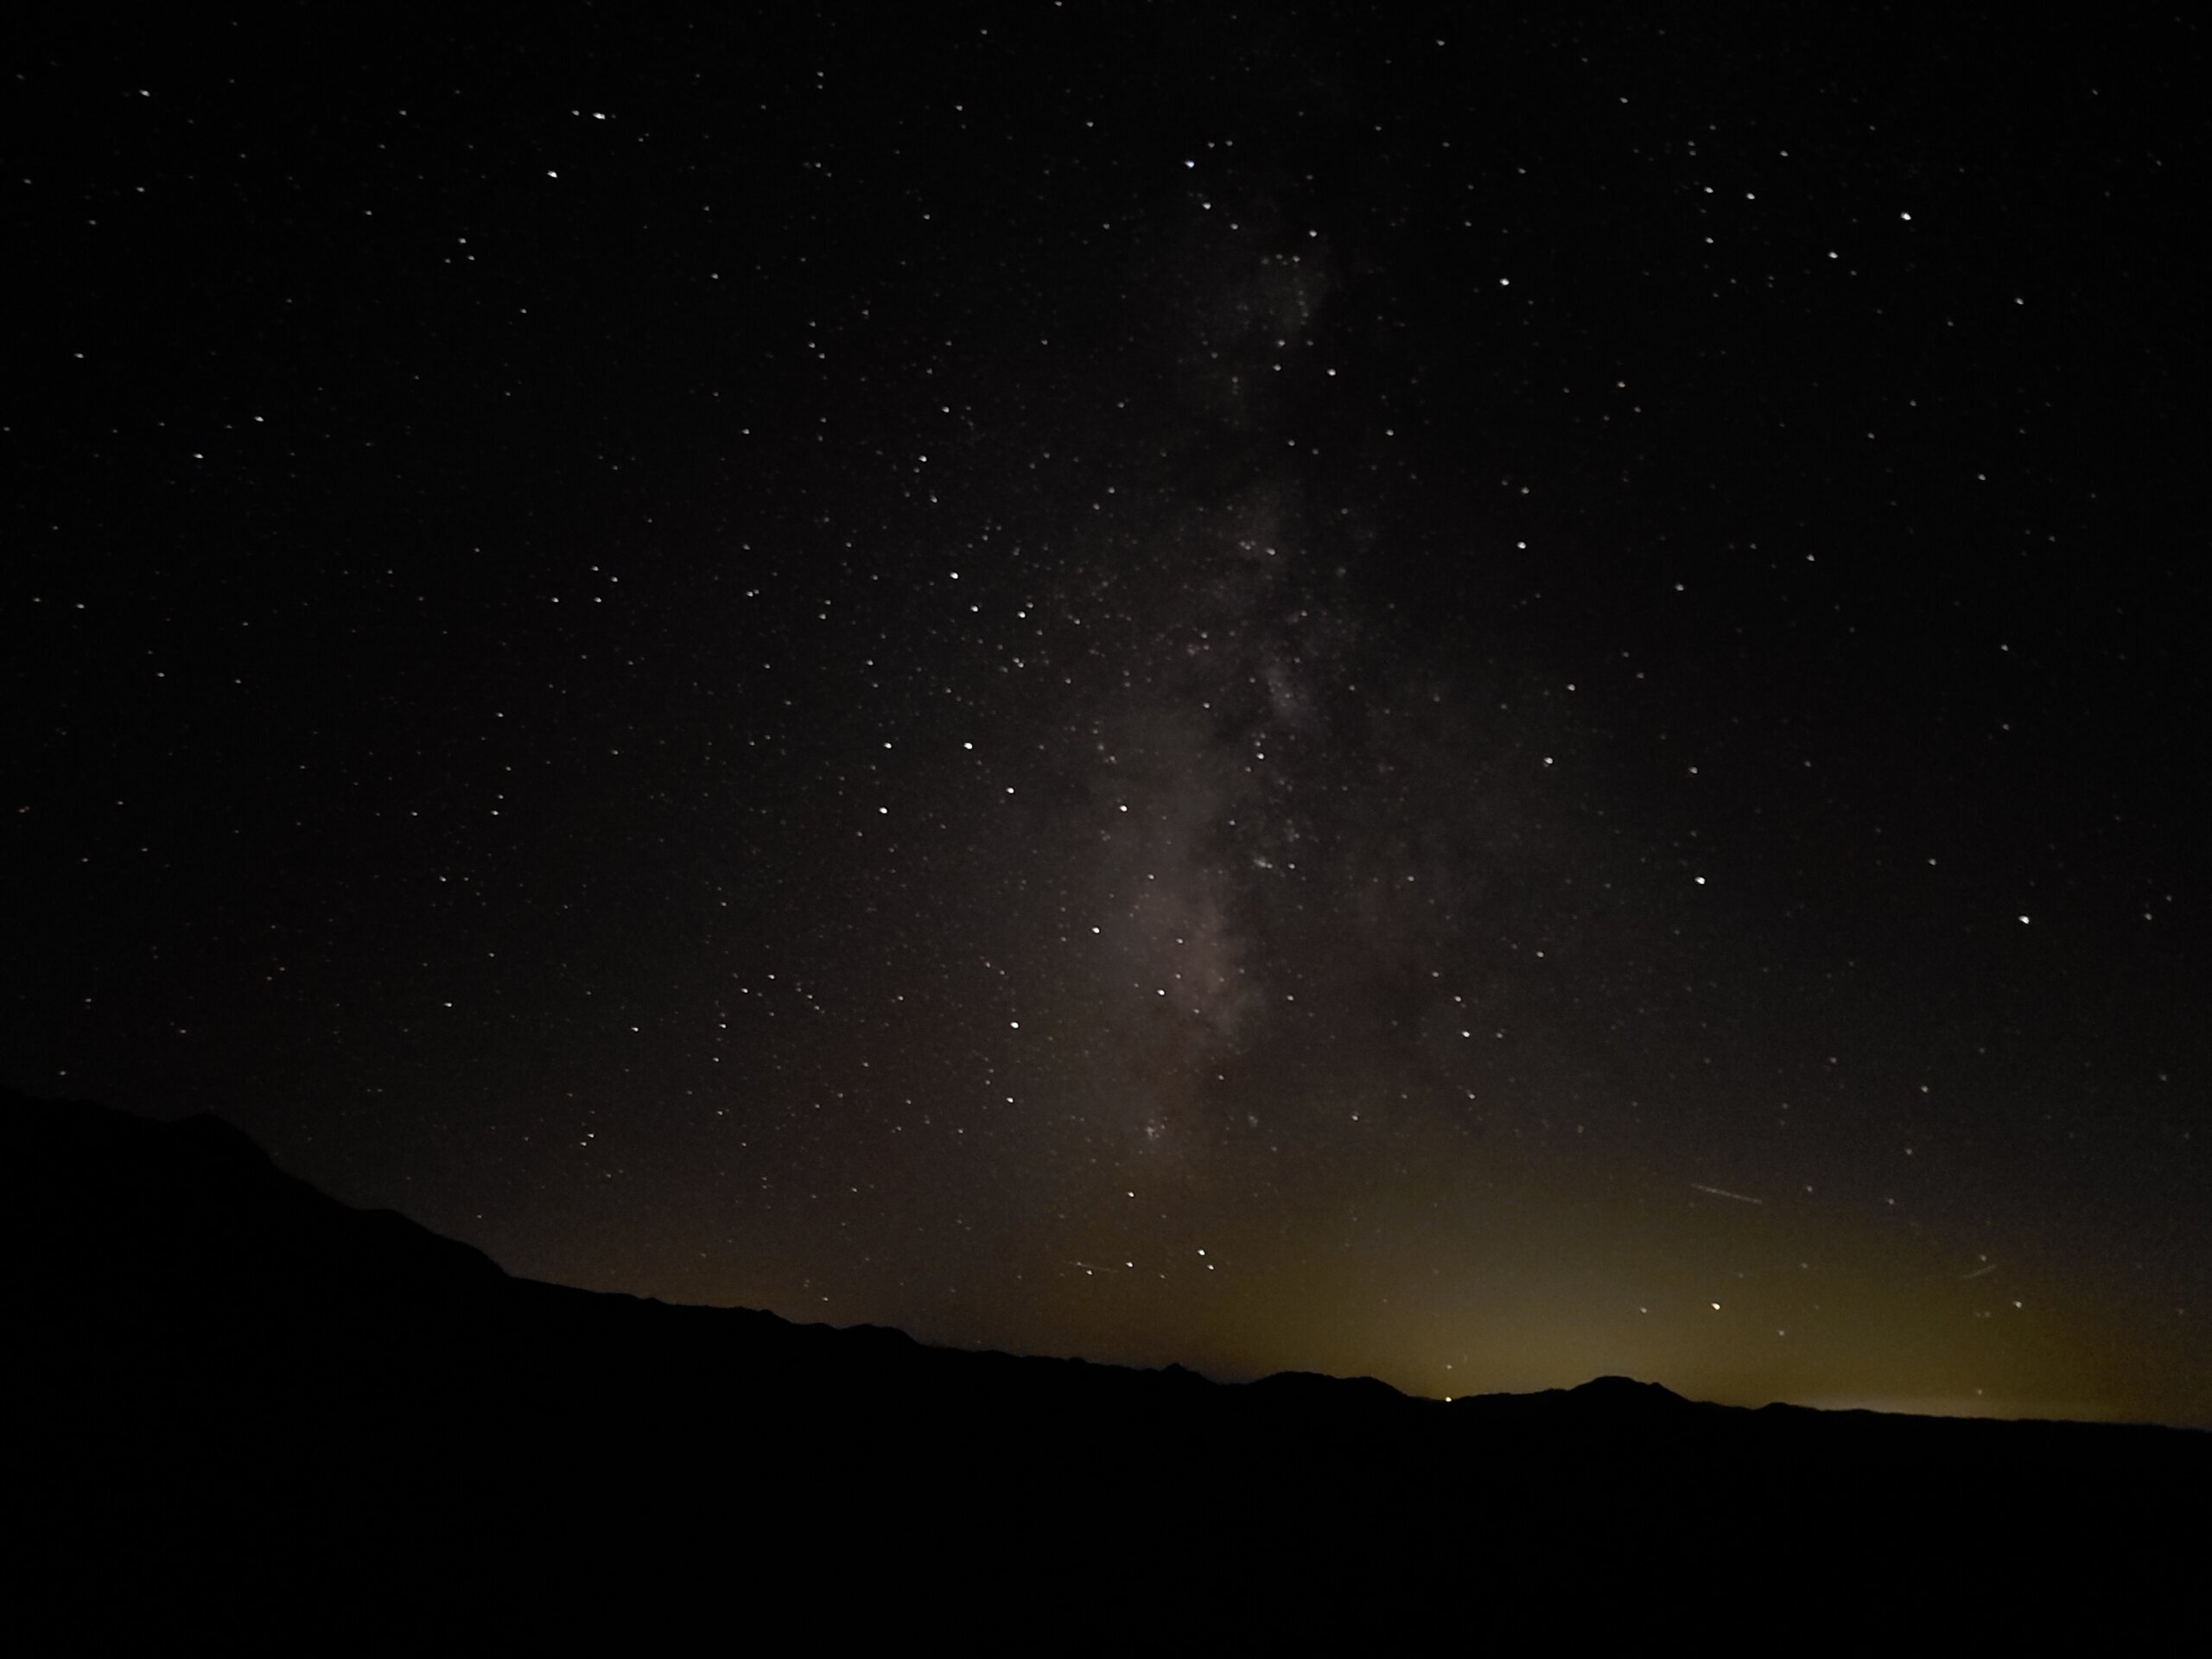
That’s phone astrophotography in practice: a real Milky Way band, visible dust lanes, a decent star field — and yes, some grain if you look closely. A phone won’t resolve individual nebulae or match the pin-sharp detail you’ll see in dedicated astrophotography galleries. What it will do is get you a genuine, shareable photo of a dark sky trip without adding a single item to the packing list.
When a Camera and Tripod Earn Their Weight
A mirrorless or DSLR with a wide, fast lens (f/2.8 or faster) is the real step up — not because a phone can’t get a usable shot, but because a dedicated sensor pulls in more light and more detail before noise takes over. That means actual structure in the Milky Way core, individual stars in a cluster instead of a smear of light, and full manual control over exposure instead of working around what the phone’s software decides is reasonable.
It also means more to carry, more to learn, and more that can go wrong at a remote site with no way to look up a fix. A real tripod is non-negotiable at this level — camera-on-a-cooler-lid doesn’t hold still enough for the longer, more precise exposures a dedicated sensor rewards. Budget an intervalometer or a camera with a built-in interval timer if you want to stack multiple exposures later for a cleaner final image; that’s a rabbit hole worth going down only once you know you’re going to keep shooting the sky, not on a first trip.
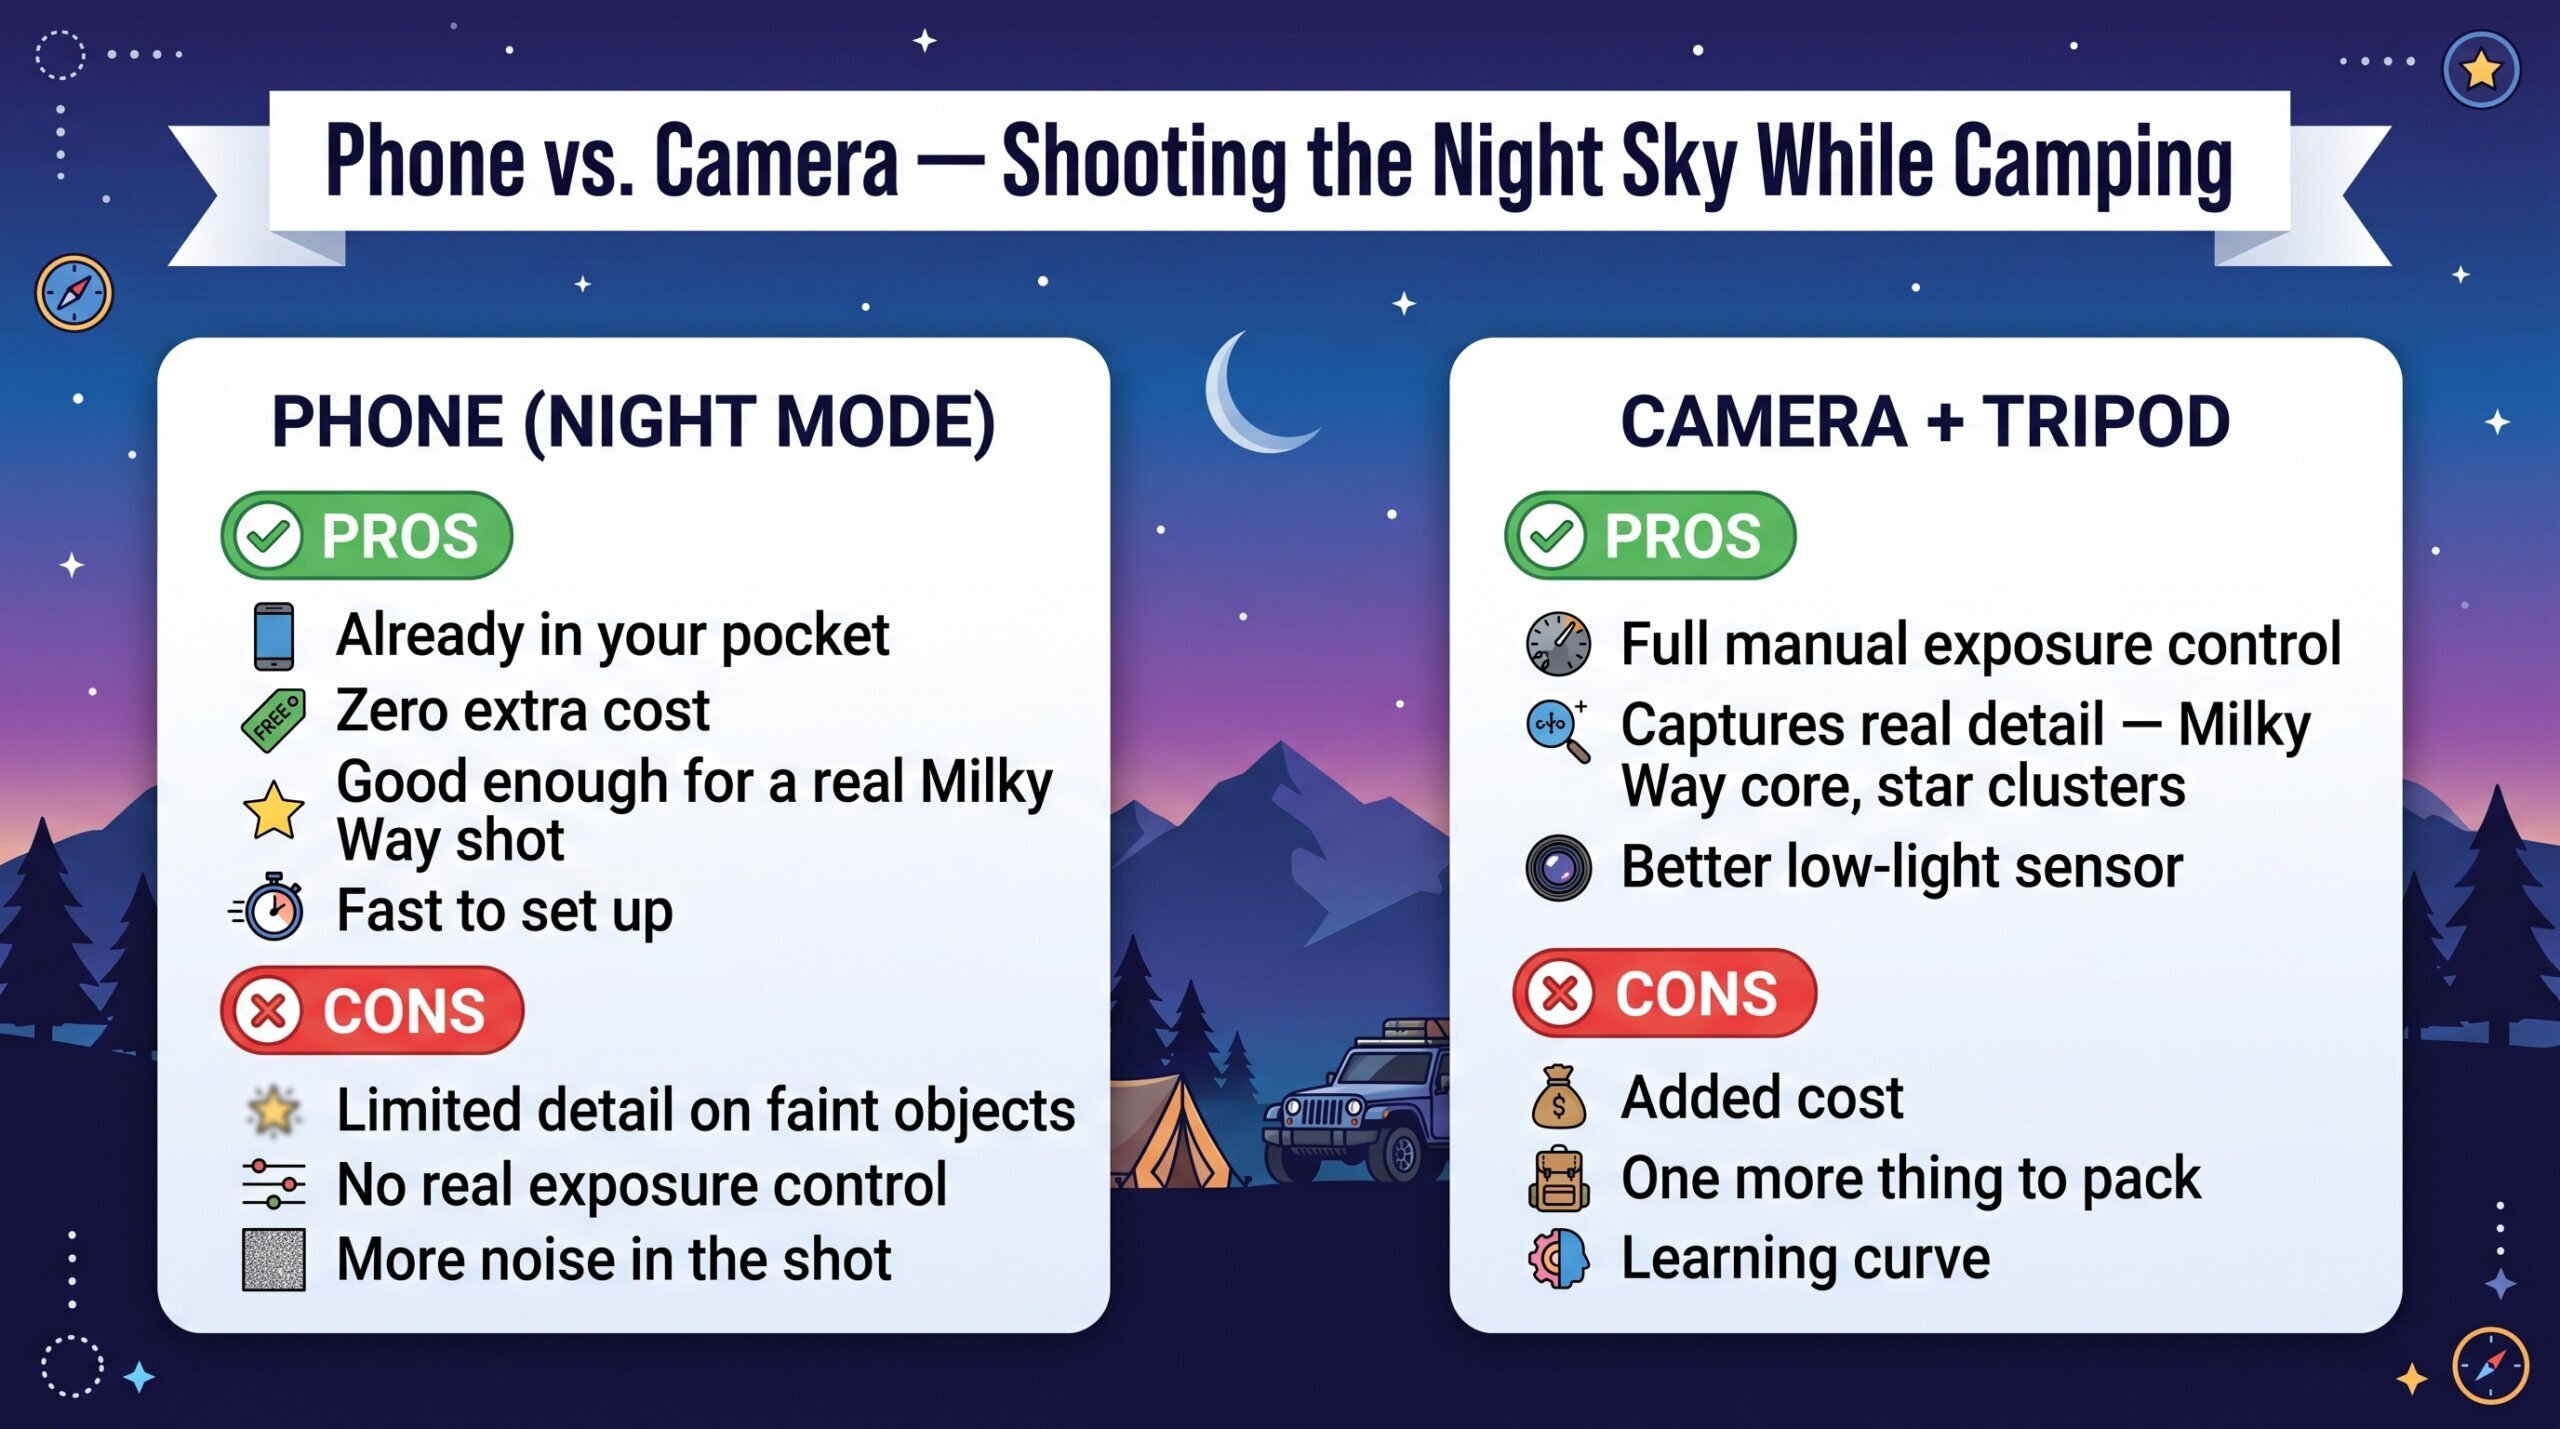
Our take: start with the phone. If you find yourself planning trips around moon phase and Bortle ratings instead of the other way around, that’s the signal it’s worth adding a camera to the kit.
Where and When — This Part Doesn’t Change
Gear only matters if the sky underneath it is actually dark. We already mapped out the best Bortle-rated spots in the corridor and how moon phase affects what you’ll see in Dark Sky Locations and Stargazing in the Mojave Corridor — that’s still the starting point before you touch a single camera setting. A phone shooting Bortle 2 skies will consistently outperform a full camera rig fighting light pollution at Bortle 5. Location matters more than equipment, every time.
If you’re still working out where to camp for the night, the map tools and permission layers we rely on are covered in How to Find Places to Camp — OnX and CalTopo both show light pollution overlays now, which makes site-picking for a night sky trip a lot less guesswork than it used to be.
Mistakes Worth Skipping
Shooting toward camp instead of away from it is the most common one — a campfire, headlamp, or another rig’s taillights will wash out a long exposure fast. Point the lens at the darkest part of the sky, ideally away from the horizon glow of the nearest town — you can see exactly that amber glow along the ridgeline in the photo above, which is the kind of light pollution worth choosing camp spots to avoid. Shooting during a bright moon phase is another mistake — a full moon lights up the landscape nicely but drowns out all but the brightest stars, so check the lunar calendar before you plan the trip, not after you’re already out there disappointed. And don’t skip the eye adjustment: give yourself fifteen to twenty minutes away from any white light before you start shooting or judging how dark the sky really is. Phone screens and headlamps reset your night vision instantly, and a sky that looks unremarkable at first glance often looks completely different once your eyes catch up.
None of this — phone astrophotography included — requires a big budget or a steep learning curve to get started. Bring what you already have, find a genuinely dark site, and give the exposure time to do its job. The upgrade path is there whenever you’re ready for it — it’s just not the first thing that matters.
